
Contents
▸ What you'll have at the end
▸ Pick your machine
▸ Step 1: Connect to it
▸ Step 2: One command
▸ Step 3: Answer four questions
▸ Step 4: It builds itself
▸ Step 5: You're live
▸ It didn't work?
▸ FAQ
▸ Now what?
This guide assumes you know nothing. No jargon, no "obviously you just". If you can copy a line of text and answer a few questions, you can host your own community. Out the other end: a forum, a real-time chat, and voice channels that are yours, on a machine you control. Let's go.
Version francaise : lire ce guide en francais
❧ What you'll have at the end
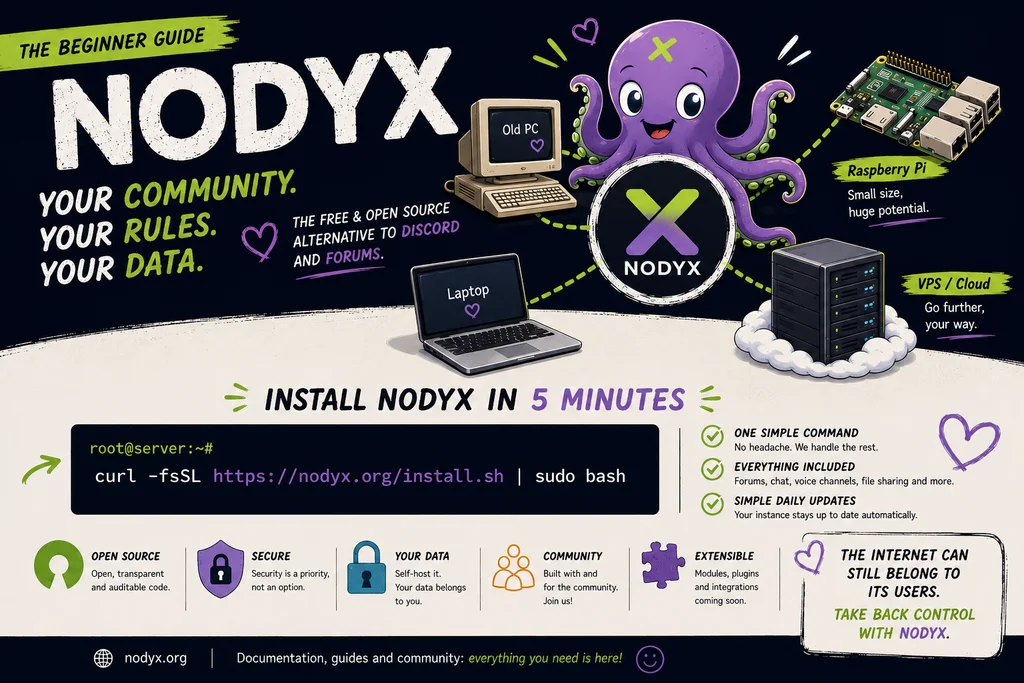
In about five minutes of actual typing (plus a coffee break while the machine does the heavy lifting), you'll have a live community platform at your own web address: a search-indexed forum, real-time chat, WebRTC voice channels, encrypted DMs, an events calendar and a drag-and-drop homepage. Nobody can shut it down but you. If the Nodyx project itself disappeared tomorrow, your instance would keep running, because that is what the license guarantees.
You do not need to be a developer. You do not need to understand Linux. You need to copy one command and answer four short questions. That's the whole story.
❧ Pick your machine
Nodyx runs on a Linux machine. "Machine" can mean a lot of things, and that's the good news. Here's how to choose, easiest first:
Your machine | Cost | Best for | What to know |
|---|---|---|---|
A small VPS (rented server) | ~5 € / month | The easiest first time | No hardware to set up. You rent a clean Linux box, it has a public address, you connect and run one command. Start here if you're unsure. |
An old laptop or PC | Free (you own it) | Reusing what you have | It has to stay switched on. Install Ubuntu on it first, then use the "Nodyx Relay" option so you don't touch your home router. |
A Raspberry Pi 4 or 5 | ~70 € once | Tiny, silent, always-on | Use a 64-bit system (Raspberry Pi OS 64-bit). Then the "Nodyx Relay" option, same as above. |
An old server | Free to cheap | Tinkerers | Total overkill, works perfectly, go for it. |
The minimum: a 64-bit Linux machine with about 1 GB of memory (2 GB is comfy) and 10 GB of free disk. If memory is tight, the installer quietly creates some swap for you. You don't have to think about it.
New here? Rent a small VPS. It removes every "but my router / but my home network" problem at once. Five euros a month, cancel anytime, and the rest of this guide is written exactly for that path.
❧ Step 1: Connect to your machine
When you rent a VPS, the provider emails you three things: an IP address (something like 123.45.67.89), a username (usually root), and a password. To "talk" to that machine, you open a terminal on your own computer and use a tool called SSH. It comes built-in on Mac, Linux, and modern Windows.
# Open your terminal and type this (use the IP from the email):
you@laptop:~$ ssh [email protected]
# It asks for the password from the email. Type it (it stays invisible) and press Enter.
# You're now "inside" the server. The prompt changes:
root@server:~# # ← you are here now
your computer — terminal
# Open your terminal and type this (use the IP from the email):
you@laptop:~$ ssh [email protected]
# It asks for the password from the email. Type it (it stays invisible) and press Enter.
# You're now "inside" the server. The prompt changes:
root@server:~# # ← you are here now
That's the hardest concept in the whole guide, and it wasn't hard. You typed one line and now you're controlling the machine.
❧ Step 2: One command
Two good habits before the install, then the only command that matters. First, bring the machine up to date (the installer does this too, but it's a nice clean start):
# 1) Update the machine (takes a minute):
root@server:~# apt update && apt upgrade -y
# 2) The one command that installs Nodyx:
root@server:~# curl -fsSL https://nodyx.org/install.sh | sudo bash
root@server
# 1) Update the machine (takes a minute):
root@server:~# apt update && apt upgrade -y
# 2) The one command that installs Nodyx:
root@server:~# curl -fsSL https://nodyx.org/install.sh | sudo bash
The sudo part matters: the installer needs administrator rights to set everything up. On a fresh VPS you're already root, so it just works. You don't need to install anything else first, not even Git. The script brings its own tools.
❧ Step 3: Answer four questions
This is the whole interactive part. The installer shows a friendly banner, detects your machine, then asks you a handful of things. Below is exactly what you'll see. The highlighted bits are what you type. Everything else is the script talking.
NODYX Installer v2.2 · AGPL-3.0
◈ OS Ubuntu 24.04 LTS
◈ Arch x86_64
◈ RAM 4.0 GB
◈ Disk 78 GB free
── Identity ───────────────────────────────
? Community name (e.g. Linux France): My Gaming Crew
? Unique identifier (slug) [my-gaming-crew]: ↵ (just press Enter)
? Primary language (en/fr/de/es/it/pt) [en]: en
? Short description (optional): ↵ (skip it)
? Country (e.g. FR, BE, CH) — optional: ↵ (skip it)
── Network ────────────────────────────────
Choose how your instance will be reachable from the Internet:
┌─ [1] Personal domain — you have a domain and ports 80/443 open
├─ [2] Nodyx Relay — recommended — no port to open, no domain
└─ [3] sslip.io auto — free auto domain, ports 80/443 must be open
? Choice [1/2/3] (default: 2 — Nodyx Relay): 2
✔ Nodyx Relay mode — URL: https://my-gaming-crew.nodyx.org
── Admin account ──────────────────────────
? Admin username: jonathan
? Admin email: [email protected]
? Admin password (min 8 chars): ••••••••••
? Confirm password: ••••••••••
── Email (SMTP) ───────────────────────────
? Configure email sending now? [y/N]: n
→ Skipped. You can turn this on later from the admin panel.
Nodyx installer
NODYX Installer v2.2 · AGPL-3.0
◈ OS Ubuntu 24.04 LTS
◈ Arch x86_64
◈ RAM 4.0 GB
◈ Disk 78 GB free
── Identity ───────────────────────────────
? Community name (e.g. Linux France): My Gaming Crew
? Unique identifier (slug) [my-gaming-crew]: ↵ (just press Enter)
? Primary language (en/fr/de/es/it/pt) [en]: en
? Short description (optional): ↵ (skip it)
? Country (e.g. FR, BE, CH) — optional: ↵ (skip it)
── Network ────────────────────────────────
Choose how your instance will be reachable from the Internet:
┌─ [1] Personal domain — you have a domain and ports 80/443 open
├─ [2] Nodyx Relay — recommended — no port to open, no domain
└─ [3] sslip.io auto — free auto domain, ports 80/443 must be open
? Choice [1/2/3] (default: 2 — Nodyx Relay): 2
✔ Nodyx Relay mode — URL: https://my-gaming-crew.nodyx.org
── Admin account ──────────────────────────
? Admin username: jonathan
? Admin email: [email protected]
? Admin password (min 8 chars): ••••••••••
? Confirm password: ••••••••••
── Email (SMTP) ───────────────────────────
? Configure email sending now? [y/N]: n
→ Skipped. You can turn this on later from the admin panel.
That's it. Four real decisions: a name, the network option (just press 2), your admin login, and "no" to email for now. Notice option 2, Nodyx Relay: it's the magic one. It gives your instance a real https:// address with a valid certificate, without you opening a single port or owning a domain. Perfect for a VPS, a Raspberry Pi, or an old PC behind your home box.
❧ Step 4: It builds itself
Now you do nothing. The installer sets up the database, the cache, the voice relay, the firewall, downloads Nodyx, configures the web server with automatic HTTPS, and creates your community. You just watch green checkmarks roll by.
✔ Installing system dependencies
✔ Creating system user
✔ Configuring PostgreSQL
✔ Configuring Redis
✔ Installing nodyx-turn (WebRTC voice relay)
✔ Configuring the firewall
✔ Downloading Nodyx
✔ Configuring the backend (nodyx-core)
✔ Configuring the frontend (nodyx-frontend)
✔ Configuring Caddy (HTTPS proxy)
✔ Configuring PM2
✔ Initializing the community and admin account
✔ Post-installation check
# this part takes 3 to 8 minutes. Good time for that coffee.
Nodyx installer — building
✔ Installing system dependencies
✔ Creating system user
✔ Configuring PostgreSQL
✔ Configuring Redis
✔ Installing nodyx-turn (WebRTC voice relay)
✔ Configuring the firewall
✔ Downloading Nodyx
✔ Configuring the backend (nodyx-core)
✔ Configuring the frontend (nodyx-frontend)
✔ Configuring Caddy (HTTPS proxy)
✔ Configuring PM2
✔ Initializing the community and admin account
✔ Post-installation check
# this part takes 3 to 8 minutes. Good time for that coffee.
❧ Step 5: You're live
When it's done, the installer prints a summary box with everything you need:
══════════════════════════════════════════
Nodyx is live
══════════════════════════════════════════
Instance https://my-gaming-crew.nodyx.org
Admin jonathan
Voice enabled
Relay active
Version 2.7.0
Folder /var/www/nexus
══════════════════════════════════════════
Nodyx installer — done
══════════════════════════════════════════
Nodyx is live
══════════════════════════════════════════
Instance https://my-gaming-crew.nodyx.org
Admin jonathan
Voice enabled
Relay active
Version 2.7.0
Folder /var/www/nexus
══════════════════════════════════════════
Open that Instance address in your browser, click "Log in", enter the admin username and password you just chose, and you're standing inside your own community. Name your first channels, write a welcome post, invite your people. It's yours now, fully.
❧ It didn't work?
Most first-time snags are tiny. The usual ones:
"Permission denied" or "must be run as root". You forgot
sudo. Re-run withcurl -fsSL https://nodyx.org/install.sh | sudo bash."command not found: curl". Rare, but run
apt update && apt install -y curlfirst, then the install command again.The page won't load right after install. With Relay mode, give it 30 to 60 seconds: the secure tunnel and the HTTPS certificate need a moment to come up. Refresh.
32-bit Raspberry Pi error. Nodyx needs a 64-bit system. Reflash with Raspberry Pi OS 64-bit (fine for Pi 3B+ and newer) and run the installer again.
Stuck on something else? The installer ships a self-diagnosis tool. Run
sudo nodyx-doctorand it tells you what's wrong.
❧ FAQ
How do I install a self-hosted Discord alternative?
Rent a small Linux VPS (or use a Raspberry Pi / old PC), connect to it over SSH, and run curl -fsSL https://nodyx.org/install.sh | sudo bash. Answer four questions, choosing "Nodyx Relay" for the network. In about five minutes you have a self-hosted forum, chat and voice platform at your own address.
Do I need a domain name?
No. The "Nodyx Relay" option gives you a free yourcommunity.nodyx.org address with valid HTTPS, no domain and no port forwarding required. You can always add your own domain later.
Do I need to open ports on my router?
Not with Relay mode. That's the whole point of it: your instance reaches the Internet through an outbound tunnel, so it works from home behind any box, untouched router.
How much does it cost?
Nodyx itself is free and open-source (AGPL-3.0). Your only cost is the machine: a few euros a month for a VPS, or nothing if you reuse an old PC or a Raspberry Pi you already own.
Is it really only one command?
Yes. One command, four questions, one coffee. Everything else (database, cache, voice relay, web server, HTTPS certificate, firewall) is configured automatically.
Can I move it or back it up later?
Yes. Everything lives in one folder and one database, with a built-in backup system in the admin panel. Your community is portable and yours.
❧ Now what?
You have a community. Go make it feel like home: design your homepage with the drag-and-drop builder, open a few forum categories, create voice rooms, and invite your first members. When you're ready, turn on email sending (for sign-up confirmations) from the admin panel.
→ Try the live demo ← · Source code (GitHub) · Full documentation
One command. Four questions. Your community, on your machine, forever. ❧